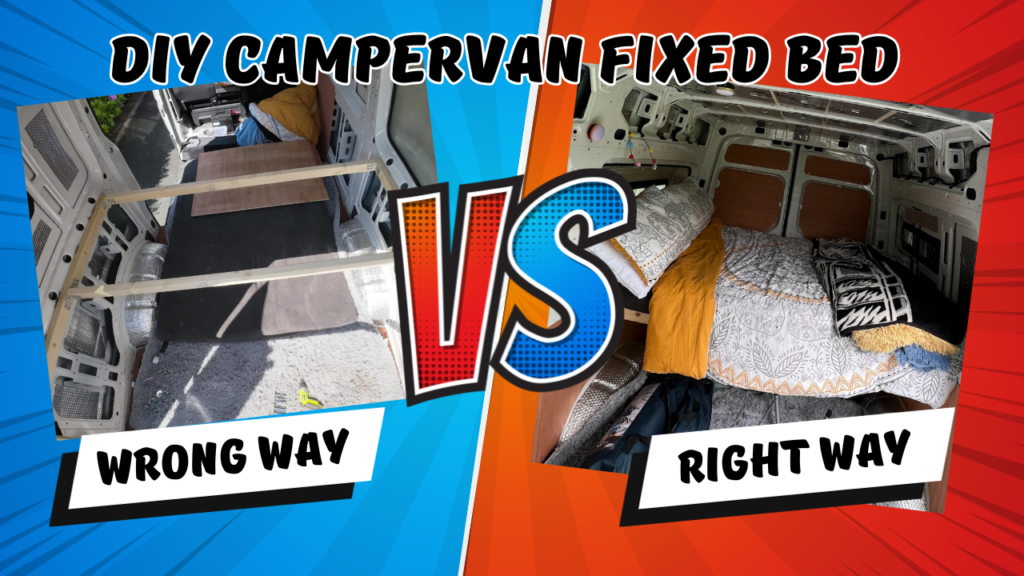
Welcome back to the Footsteps & Tyretracks blog. Today, we’re going to share with you a chapter in our now sold, VW Crafters’ conversion journey. Join us as we take you through the process of installing a Fixed Bed, but also see how easy it is to get things wrong and have to start from the beginning to get the desired finish.
The Journey Begins:
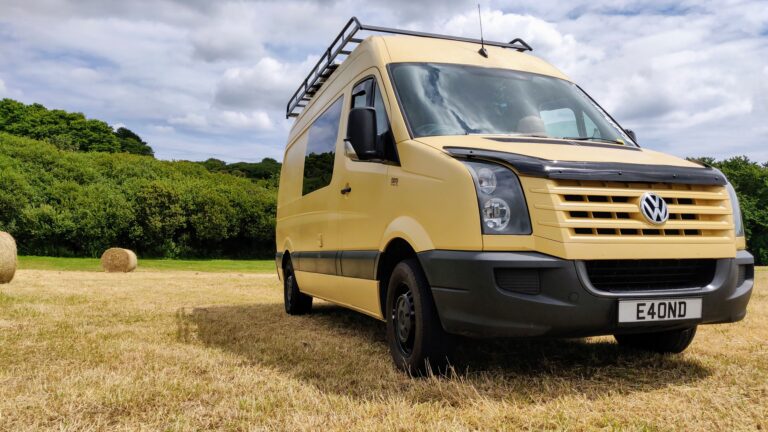
When we bought our VW Crafter we were sleeping on a mattress on the floor. But our travels exposed a challenge we couldn’t ignore – We needed a proper solution for our Campervan, a fixed bed. We had done this in another VW Crafter we used to own.
Identifying the Issues:
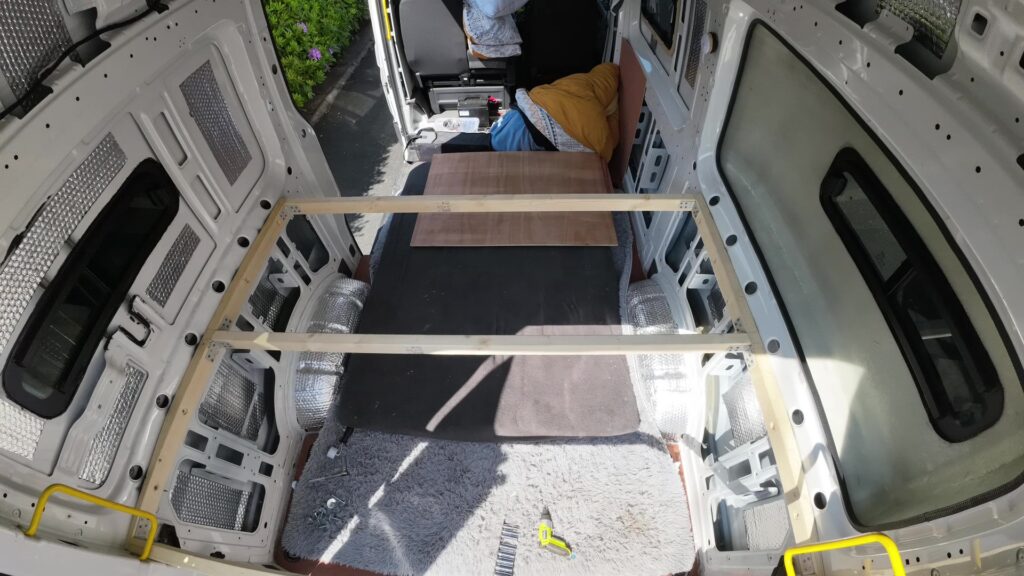
Detailed in our YouTube video, we walk you through the specific issues we faced from the original bed frame we made with unexpected flex it became clear that modifications were in order.
The DIY Approach: Crafting Comfort from Scratch
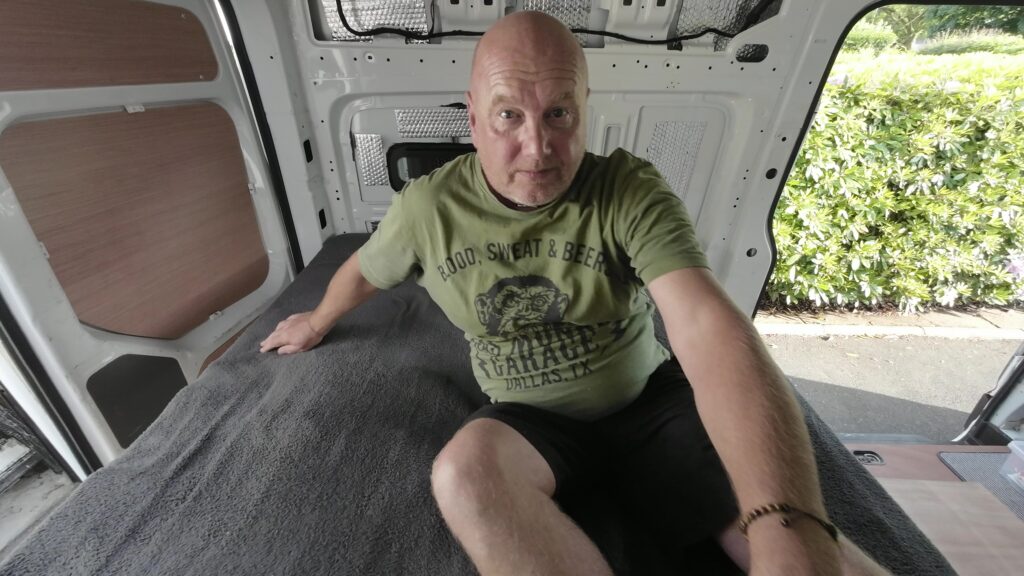
Armed with determination and a passion for hands-on solutions, we chose the DIY route to address our bed frame woes. The blog post takes you through each phase of the upgrade, providing detailed insights into the materials chosen, the thought process behind each decision, and the practical steps taken to fortify our sleeping quarters.
Phase 1: Research and Planning
Before diving into the construction phase, we invested time in thorough research. We scoured forums, consulted fellow van lifers, and explored various materials and techniques. This phase is a crucial part of any DIY project, and we share our tips for making informed decisions that align with your specific needs.
Phase 2: Gathering Materials and Tools
Once armed with knowledge, we meticulously gathered the materials and tools required for the project. From reinforcing brackets to high-quality wood, every component was chosen with durability and functionality in mind. The video provides a detailed list, making it easier for fellow van enthusiasts to replicate the upgrade.
Phase 3: Deconstruction and Assessment
Before building anew, we deconstructed the existing bed frame, assessing its strengths and weaknesses. This step is often overlooked but proved instrumental in ensuring our modifications addressed the root causes of the flex issue.
Phase 4: Construction and Reinforcement

With a solid plan in place, we began the construction phase. The Video includes a step-by-step guide accompanied by images, detailing how we reinforced the frame, addressing specific stress points and optimizing for both weight distribution and overall stability. We encourage readers to use this guide as a reference for their own DIY endeavors.
Community Involvement: Your Insights Matter
We firmly believe in the strength of community-driven knowledge. We invite readers to share their experiences, tips, and recommendations in the comments section. Our collective wisdom can inspire and guide others facing similar challenges on their van conversion journey.