A Step-by-Step Guide
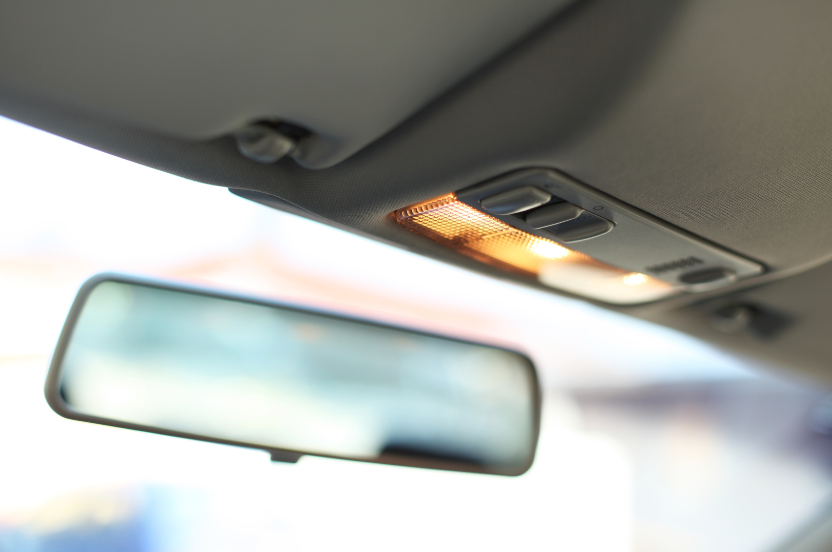
Embarking on the journey of fitting a mirror mount for your Campervan can be both exciting and challenging, especially when facing the prospect of no back door windows. In this comprehensive guide, we’ll walk you through the process of bonding a rear view mirror mount securely to the windscreen, ensuring a robust and lasting installation.
Marking and Preparation
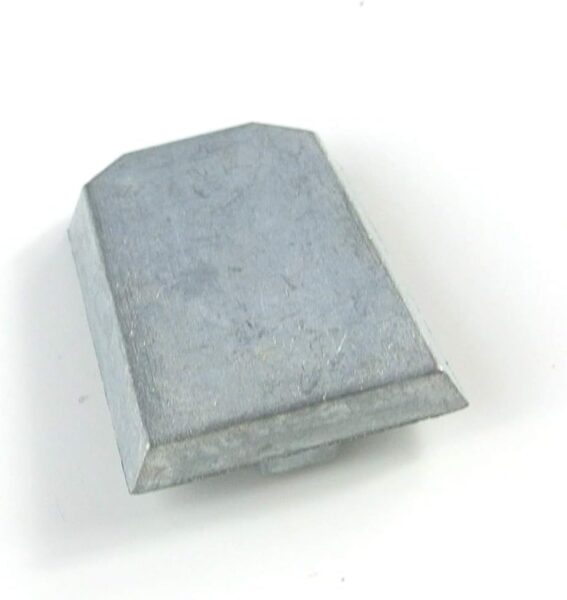
The first step in this process, is marking off the ideal position for your rear view mirror mount. If your Camper doesn’t come with a rear view mirror, precision in placement is key. Once you’ve identified the spot, a specially designed bracket comes into play. This bracket, crucial to the process, will be securely glued to the windscreen. Precision in marking and preparation lays the foundation for a successful mirror mount installation.
Choosing the Right Glue
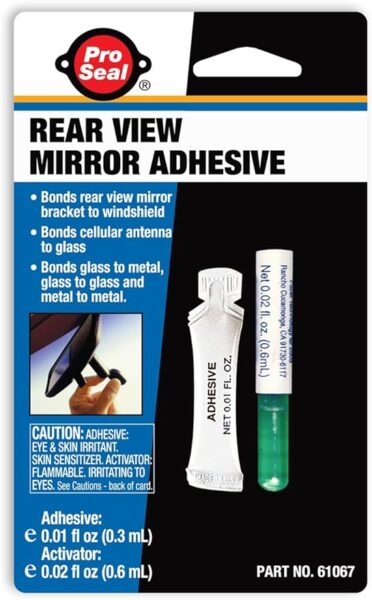
Choosing the right adhesive is pivotal in ensuring a strong and enduring bond between the bracket and the windscreen. With a plethora of glue options available in the market, the decision-making process can be overwhelming. Our choice, Pro Seal an activator and glue combination, is backed by positive reviews. This two-step process involves applying the activator to both the bracket and the windscreen, followed by mixing and applying the glue. This careful selection mitigates the risk of failure and enhances the longevity of the mirror mount.
The Application Process
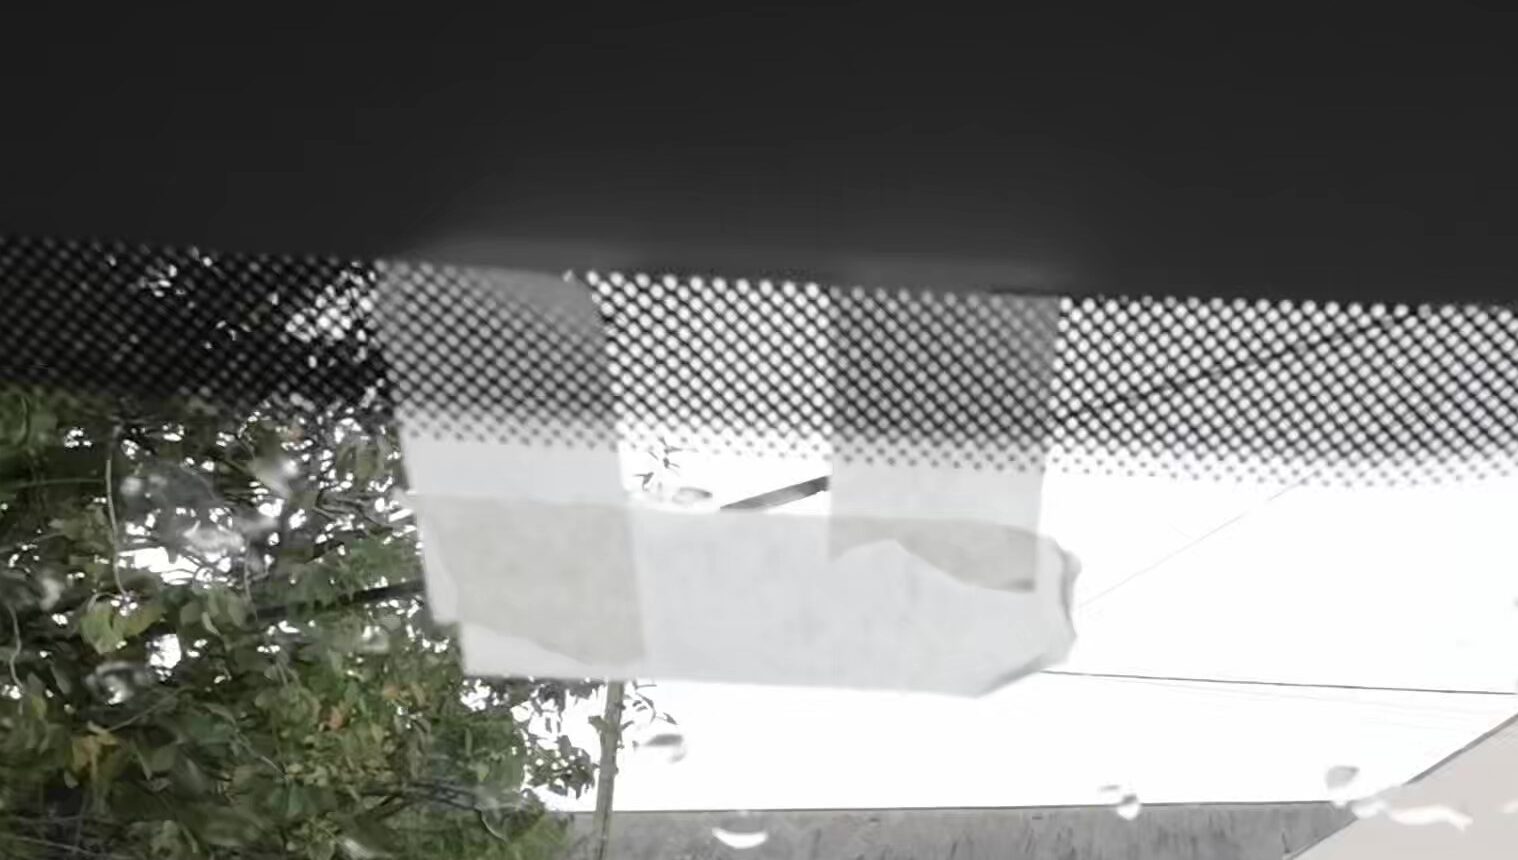
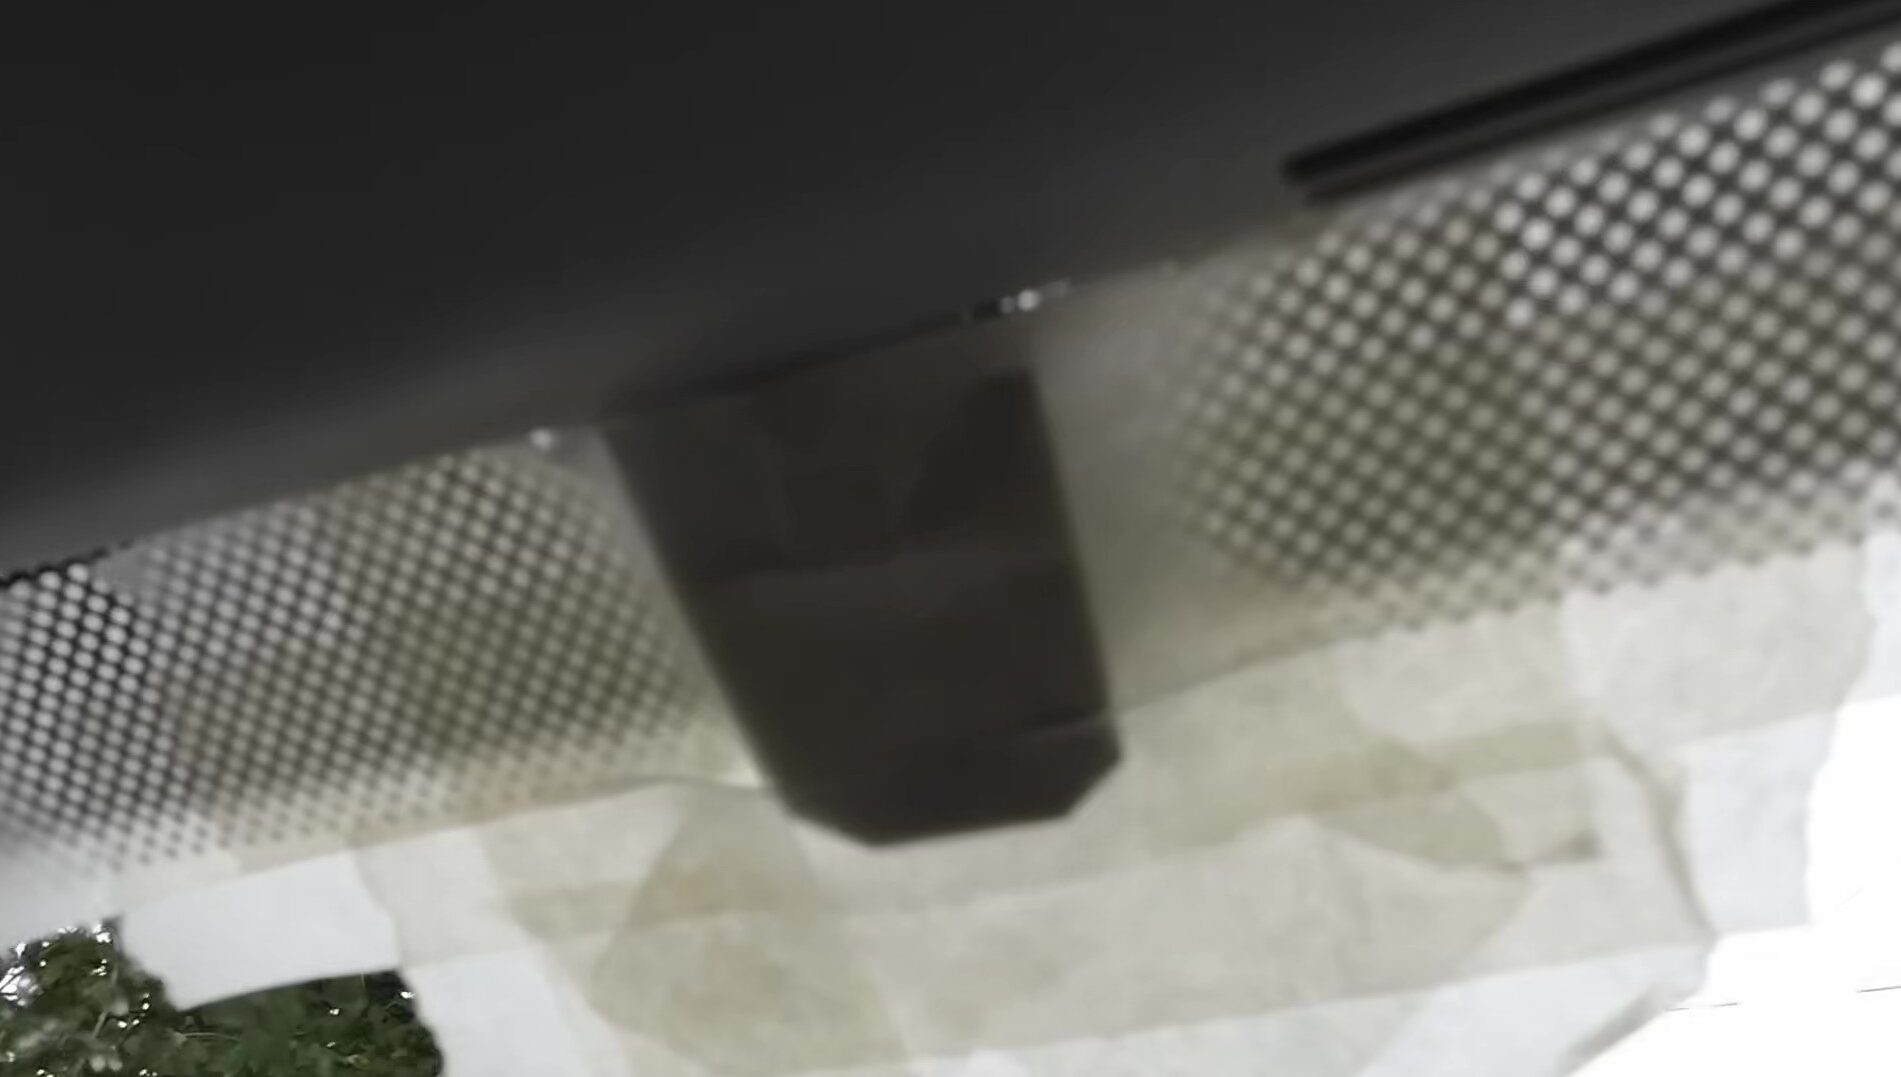
With the bracket prepared and the adhesive ready, the next step is the delicate application process. Carefully adding two drops of the golden adhesive substance to the bracket. Then position it onto the windscreen, ensuring a square and accurate placement. It’s important to note that precision is paramount during this stage, as there’s no room for adjustment once the adhesive takes hold. To provide additional support, masking tape is strategically applied around the edges, further securing the bracket in place
Securing the Bond and Final Touches
Following the application, the mirror mount is delicately secured with tape, offering an extra layer of protection during the curing process. The tape ensures that the bracket stays in position, allowing the adhesive to set properly. Weather conditions are also taken into consideration, as external factors can influence the bonding process. After patiently waiting for 24 hours, the tape is cautiously removed, revealing a firmly fixed mirror mount. The meticulous steps undertaken guarantee a successful and lasting bond. Tturning your DIY project into a professional-looking addition to your campervan.
Bonding a rear view mirror mount to your Campervan’s windscreen is a rewarding endeavor that requires meticulous planning and execution. The carefully chosen adhesive, precision in marking, and patience during the curing process contribute to a secure and durable mirror mount. Have you attempted a similar project? We’d love to hear about your experiences and any additional tips you may have. Feel free to share your thoughts in the comments below.
You can watch our video on YouTube
Thank you for joining us on this bonding journey. Don’t forget to give us a thumbs up if you found this guide helpful. Subscribe for more insightful DIY adventures. Until next time, happy travels!